In this tutorial we will show you two very helpful features for your interactive touch menus with FrontFace: The “Back to Home Page” function automatically returns the menu to the start page if a user leaves the terminal without clicking “Home” button on leaving. With the screen saver feature, you can supply your kiosk terminal with additional, moving content when there is no interaction and usage.
Back to Home Page
When a user leaves the terminal without returning to the start page of the touch menu, a certain period of minutes can be defined after which the system automatically returns to the top level menu of the touch menu when there is no more interaction.
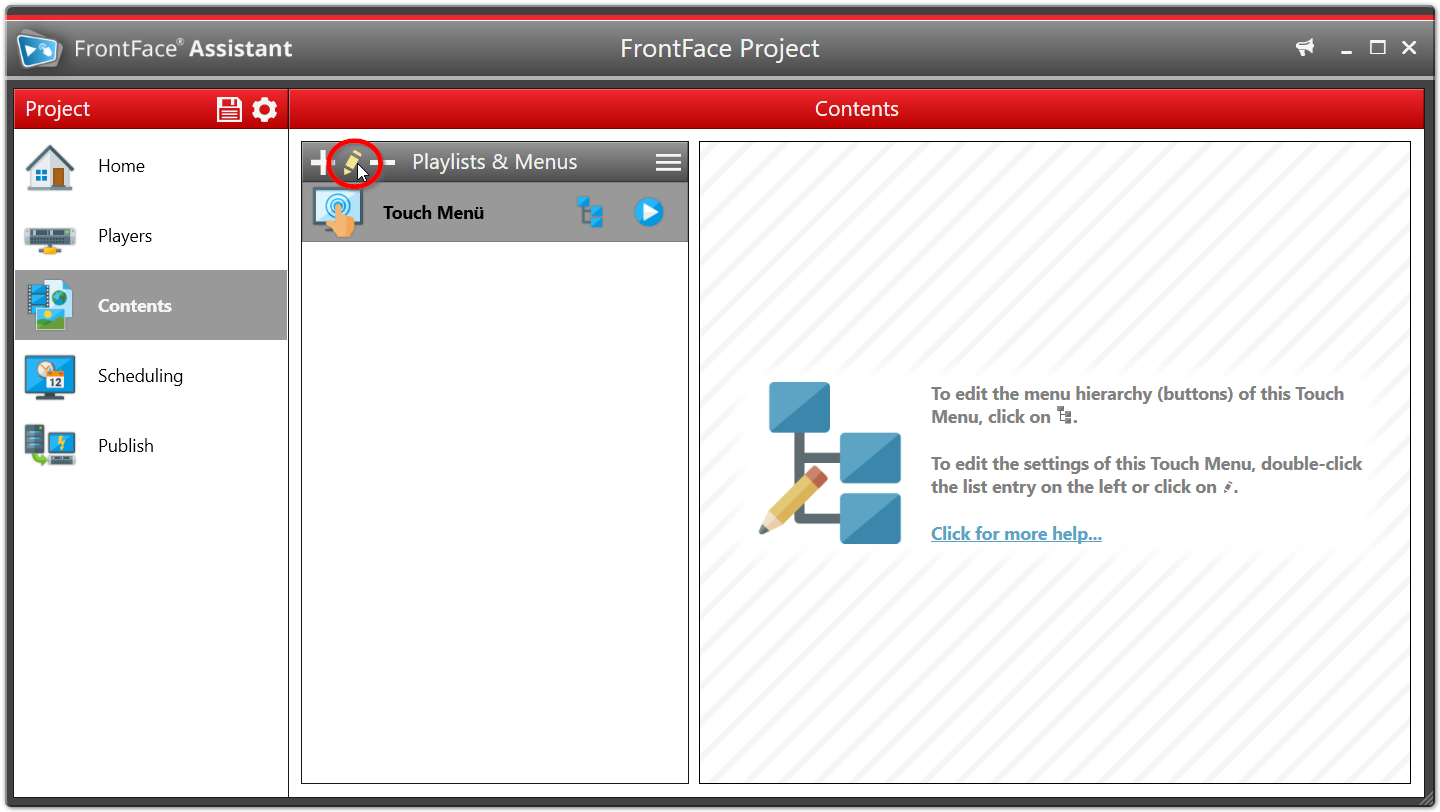
To configure this setting, open the settings dialog of the touch menu:
Here is the “Interaction Timeout” setting. Set the desired duration (e.g. 15 minutes). This ensures that the menu returns to the start page after 15 minutes without interaction.
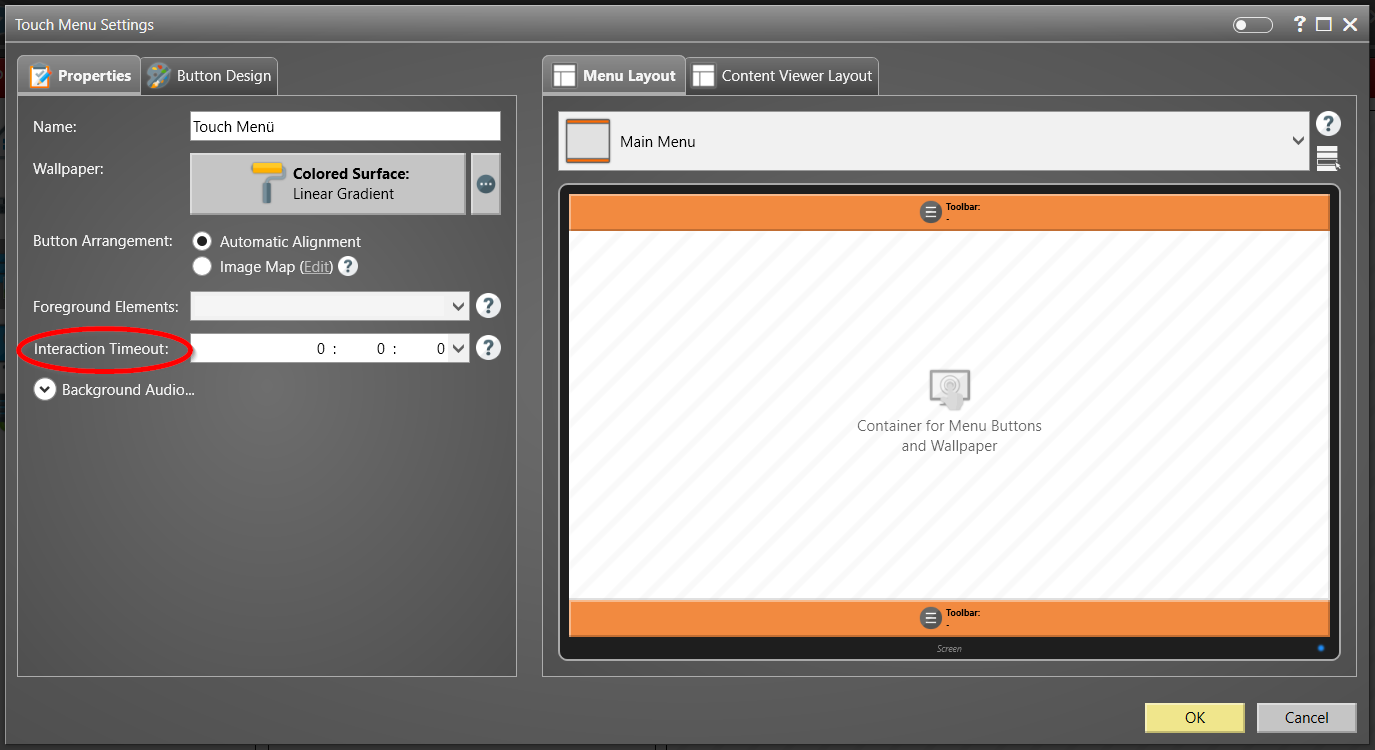
As a result, a subsequent user can start the navigation directly from the main menu level (“Home Screen”) and does not have to manually click the “Home” button first.
Digital Signage Screensaver
Especially for interactive systems such as kiosk terminals, it is desirable to display appealing, moving content on the screen (e.g. advertising or specific calls for action) when the system is not being used interactively. You can easily create an individual screen saver with FrontFace:
First create a playlist (in addition to your touch menu), which will serve as screen saver.
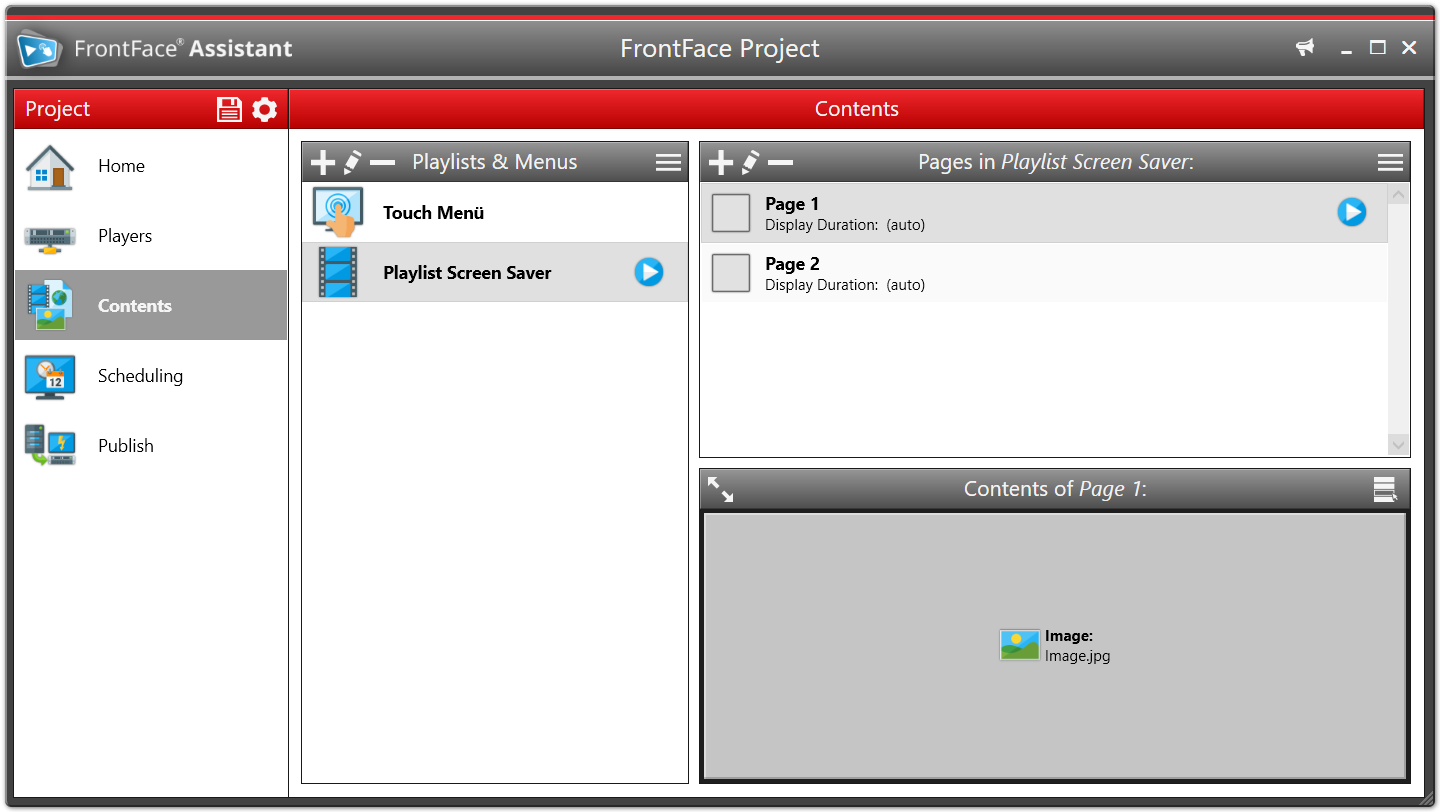
Here you can insert any media objects, for example pictures, videos, slideshows, web pages or texts. In addition, with the help of a suitable screen layout, you can also add static overlay text or even scrolling text with a call for action (CFA) such as “Tap here for more information …” or “Please touch the screen!”.
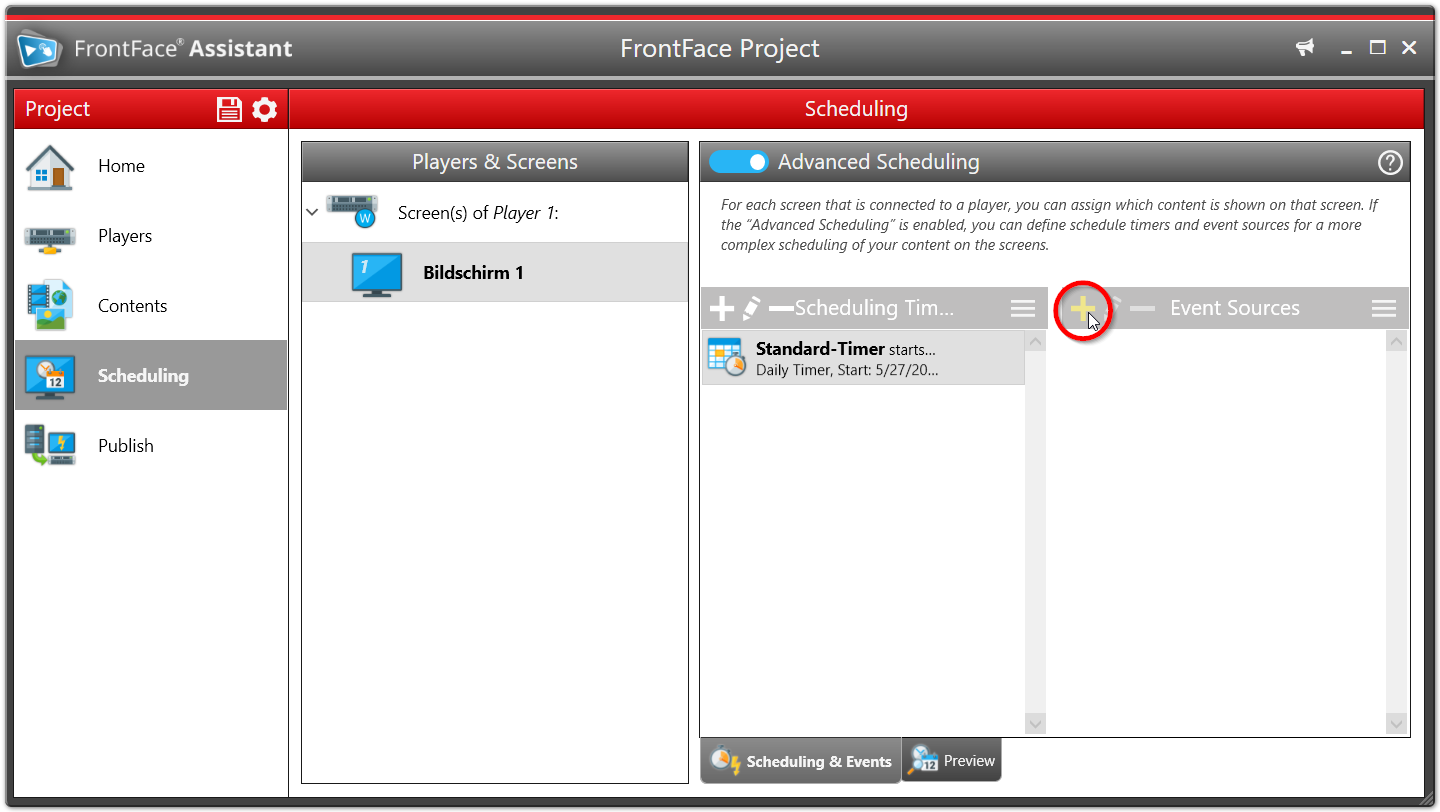
Then switch to the “Scheduling” section in the Assistant and activate the “Advanced Scheduling”. Then click on the + icon in the “Event Sources” list to create a new event source.
Click on “Install a new event source plugin” and select the plugin file for the screensaver. This is named “Screensaver.ffapx” and is located in the “C:\Program Files\mirabyte\FrontFace\Plugins\” folder.
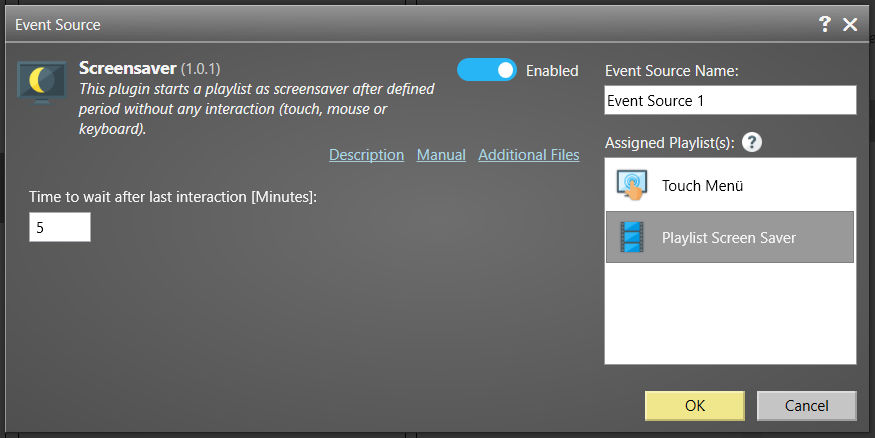
After installing the plugin, select it and click OK.
Finally, you specify the number of minutes and the previously created playlist as a screen saver: